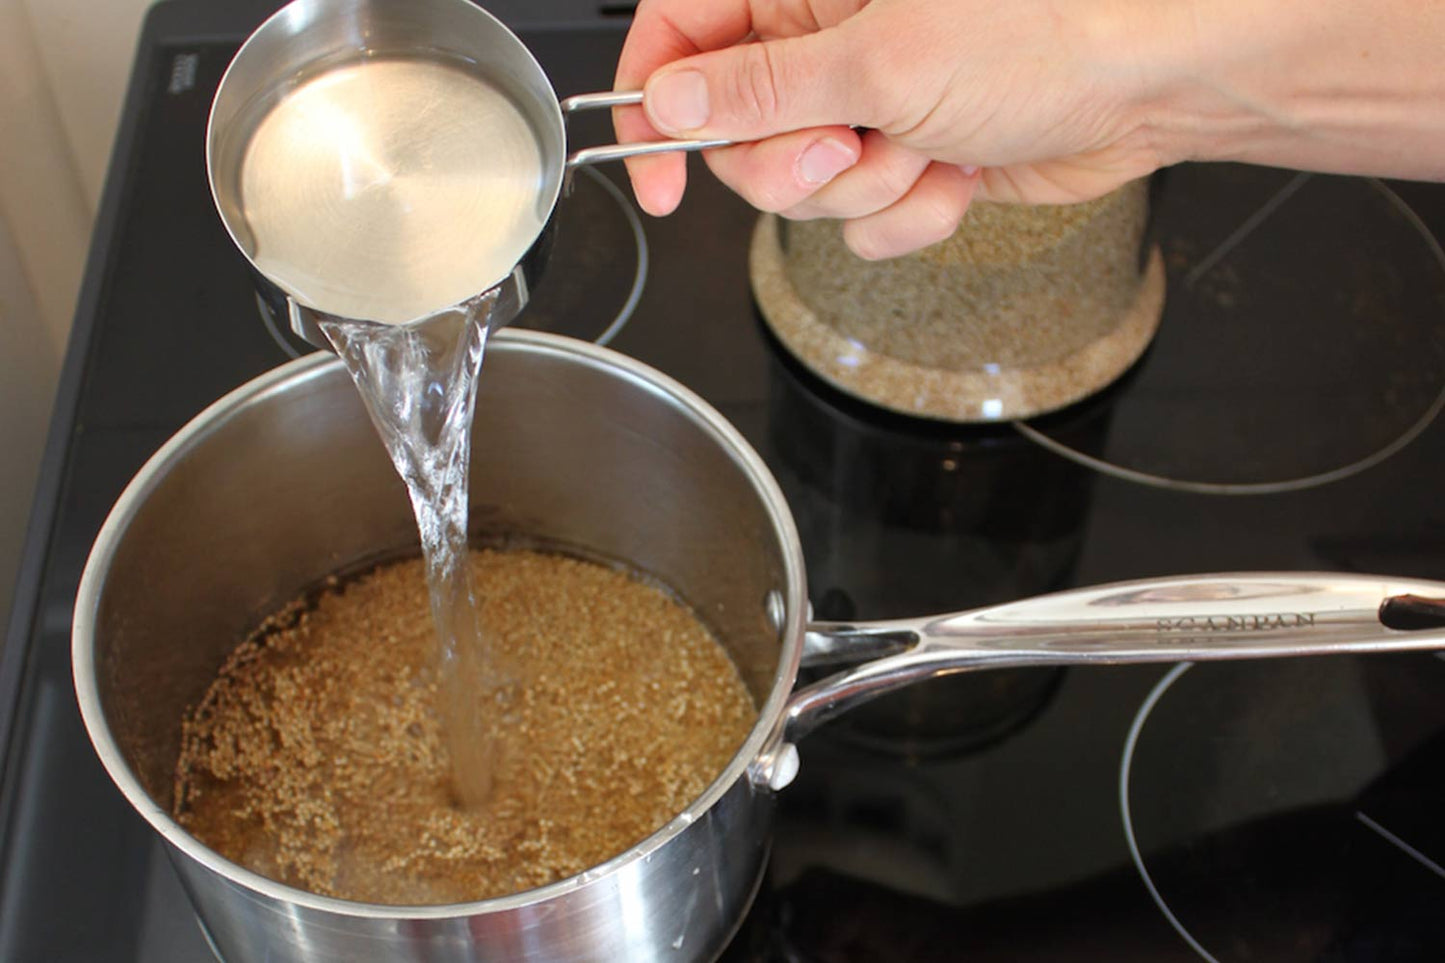
Kiwi Quinoa is a very versatile wholegrain and as a result can be prepared in a number of different ways. These include the typical boiling method but also soaking and sprouting. Initially when we started our quinoa journey we would simply boil our quinoa. However, over time and through learning from different friends and chefs, we’ve adapted our preparation and have become advocates for soaking this highly nutritious grain to get the best from it nutritionally.
SUPER EASY BOILING METHOD
- Rinse 1 cup of Kiwi Quinoa and place in a saucepan with 5 cups of boiling water.
- Cover and simmer for approximately 20 minutes or until the tails of the quinoa release.
- Strain excess water immediately and serve. Serves four.
RICE COOKER METHOD
- Rinse 1 cup of Kiwi Quinoa and place in a rice cooker with 3 cups of water.
- Cover with lid and set the rice cooker to “cook”.
- Once cooking is complete, quinoa is ready to serve. Serves four.
SOAK METHOD
This is a wonderful way of preparing quinoa and results in a deliciously chewy grain. For the few extra minutes spent preparing, it’s well worth the benefits of a more nutritious and easily digested grain. We came across this in one of my favourite cookbooks “Homegrown Kitchen” by Nicola Galloway.
- Combine 1 cup quinoa with 3 cups of warm water (approx. 45 degrees) and 1 tablespoon of whey, yoghurt, kefir, apple cider vinegar or lemon juice in a large bowl.
- Allow to soak in a warm place for 8-12 hours.
- To cook, drain and rinse the quinoa.
- Add the quinoa to a saucepan and cover with 1 ¾ cups boiling water, stock or bone broth.
- Cover with a lid and bring to the boil. Reduce the heat to a simmer for approximately 15 minutes or until the tails of quinoa release.
- Remove from the heat, set aside to steam covered for five minutes before fluffing with a fork. Serves four.
SPROUT
Kiwi Quinoa is wholegrain and has not been processed, polished, heat treated or tampered with in any way. This means that it’s a living seed and can be sprouted. Sprouting quinoa increases the availability of nutrients, increases the vitamin and mineral content and makes the quinoa easier to digest. We love adding quinoa sprouts to coleslaw or a fresh green salad and sandwiches for that crunchy freshness - and extra goodness! Here’s how we sprout our quinoa to make approximately 1 cup of sprouted quinoa.
- Place ⅓ cup of quinoa in a bowl with 2 cups of water. Allow to soak for 8 hours.
- Strain the quinoa and rinse thoroughly using a fine mesh sieve.
- Leave the quinoa in the sieve and place over a bowl and cover the quinoa with a plate to keep out of direct light.
- For 2 days, rinse the quinoa in the sieve with cold water 2-3 times per day. The quinoa will begin to sprout and once the tail is about 1cm long it’s ready to eat.
- Place sprouts in an airtight container and store in the fridge. Use within 5 days.
QUINOA
Quinoa, while technically a seed, has the most impressive nutritional profile of all the wholegrains. It offers a high amino acid content and is high in B vitamins, iron, zinc, magnesium and calcium. It is an excellent food for endurance and as such the Incas were able to run long distances at high altitudes because of this powerful grain. It is also gluten free and an easy grain to digest, particularly if it’s pre-soaked.
SAPONINS
Unlike all other quinoa varieties available in New Zealand, Kiwi Quinoa does not contain saponin. Saponin is a naturally occurring bitter compound developed to protect the plant from predators (insects!). This means that our quinoa does not have the inherent bitter taste of most other quinoas and you can taste the different. It is considered a ‘sweet’ variety for this reason.
